Knowing what the weather conditions are like is important; especially if you you plan on launching off of a mountain. My paragliding club current has a remote weather station deployed at the top of one mountain to help decide if the conditions are currently good enough to launch in. The only downside to this solution is the cost. One of these weather stations can cost $700+. The goal of this project is to create a new weather station that is more affordable, but still have the same functionality of the current station. This will enable to the club to put more weather stations in other launch sites.
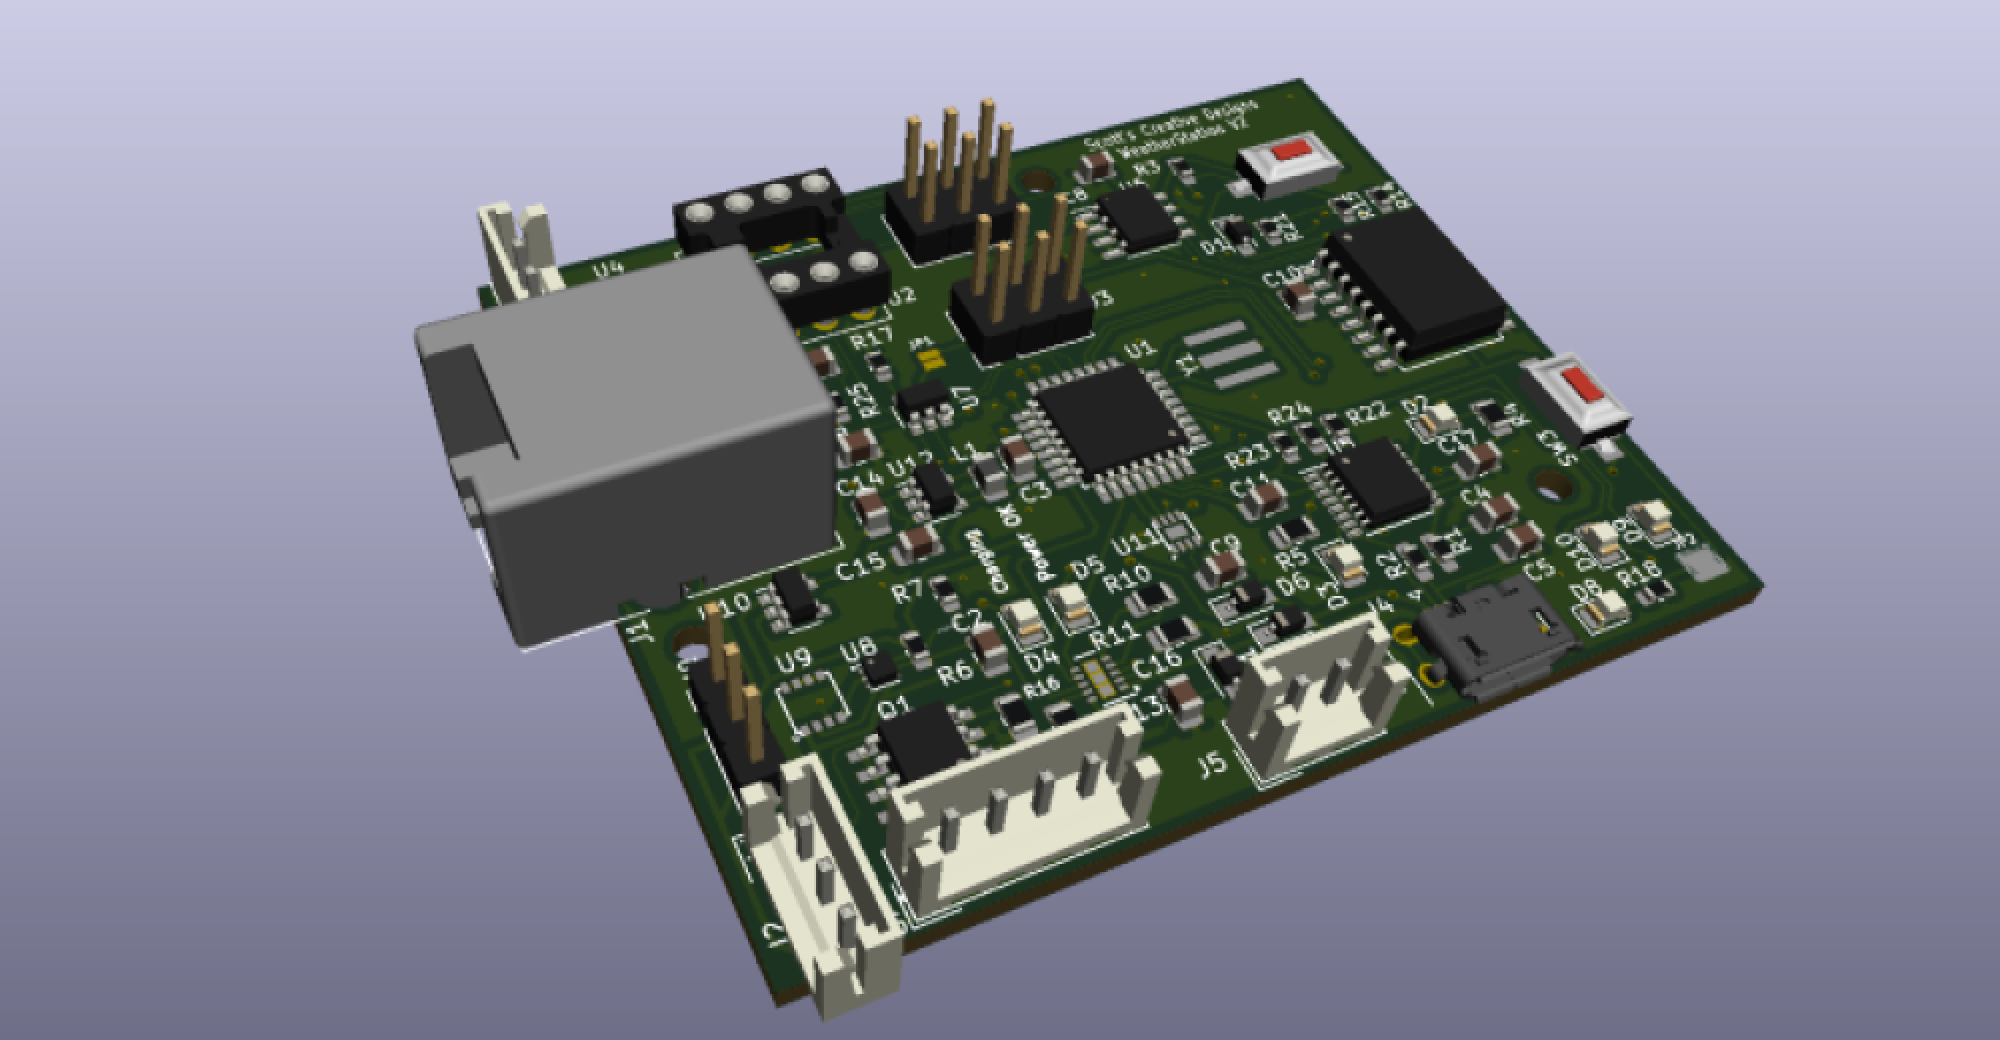
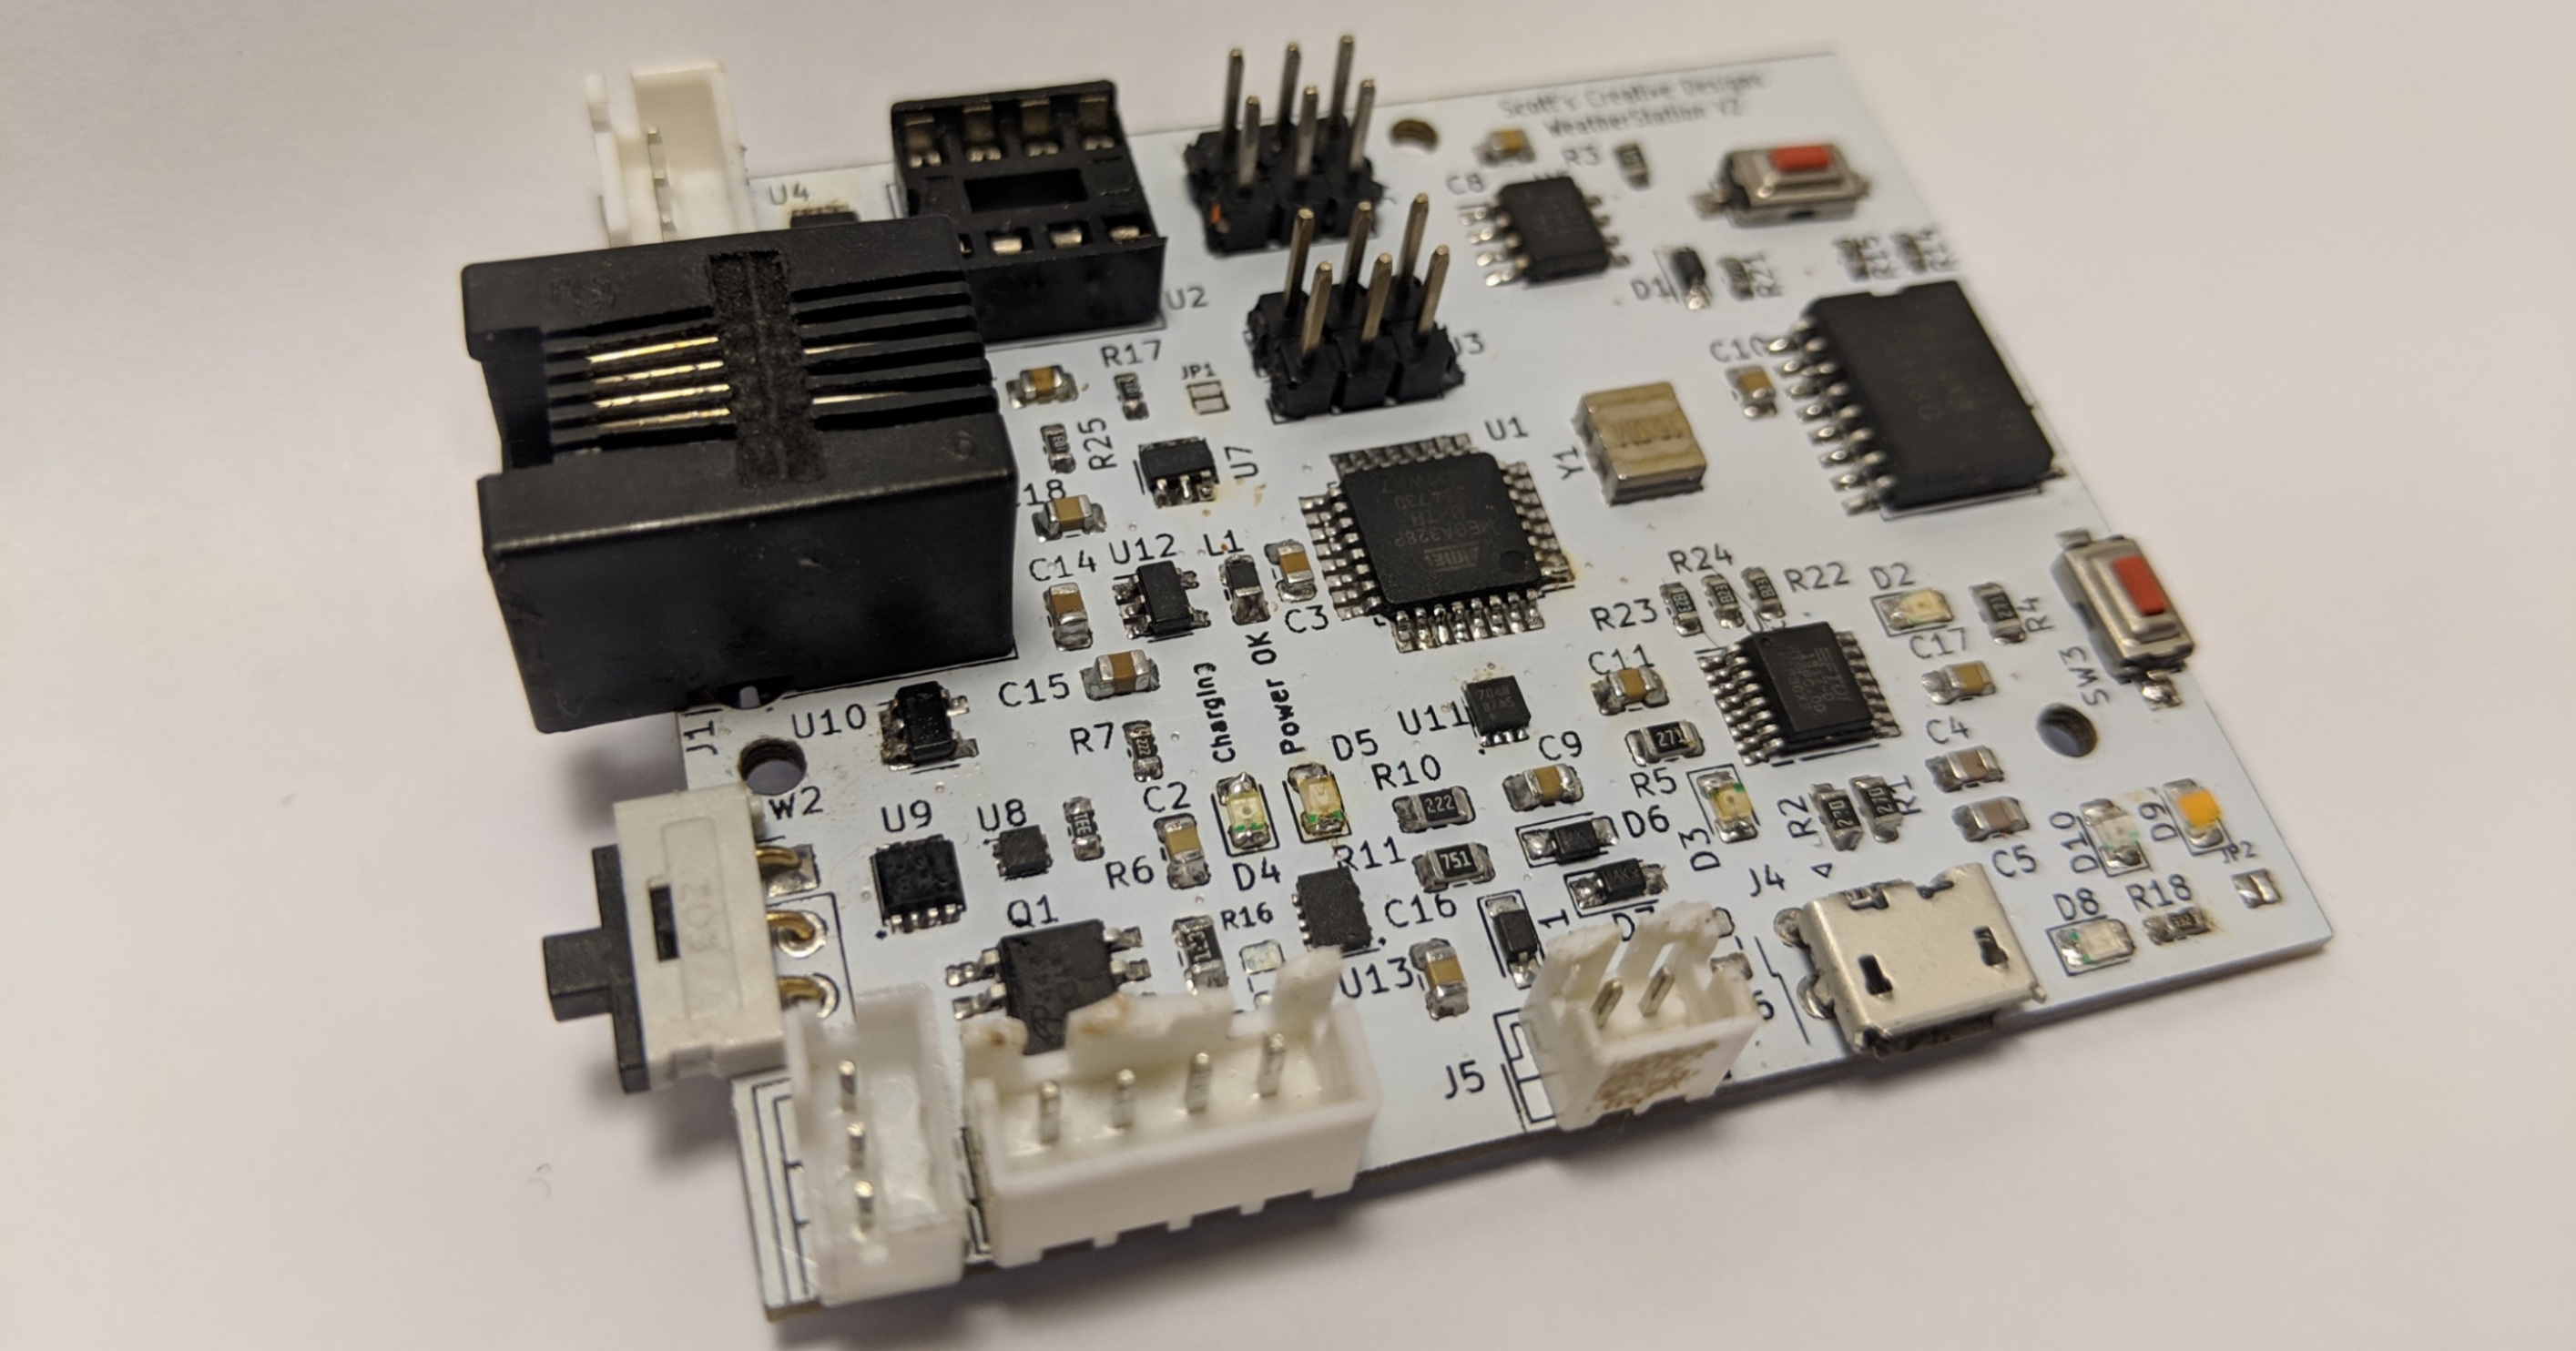
The first revision of the weather station was based on the Atmega328. The intent of this design was to use the Arduino core for a quick and simple weather station design that would help lead into the redesign that would make the overall design more efficient. This design also utilized an external 2G modem to talk to my server. After building the board and doing the first round of testing, I found out that 2G was no longer supported. I anticipated that this might happened, and had a connector for connecting a 3G module via UART.

Version 3
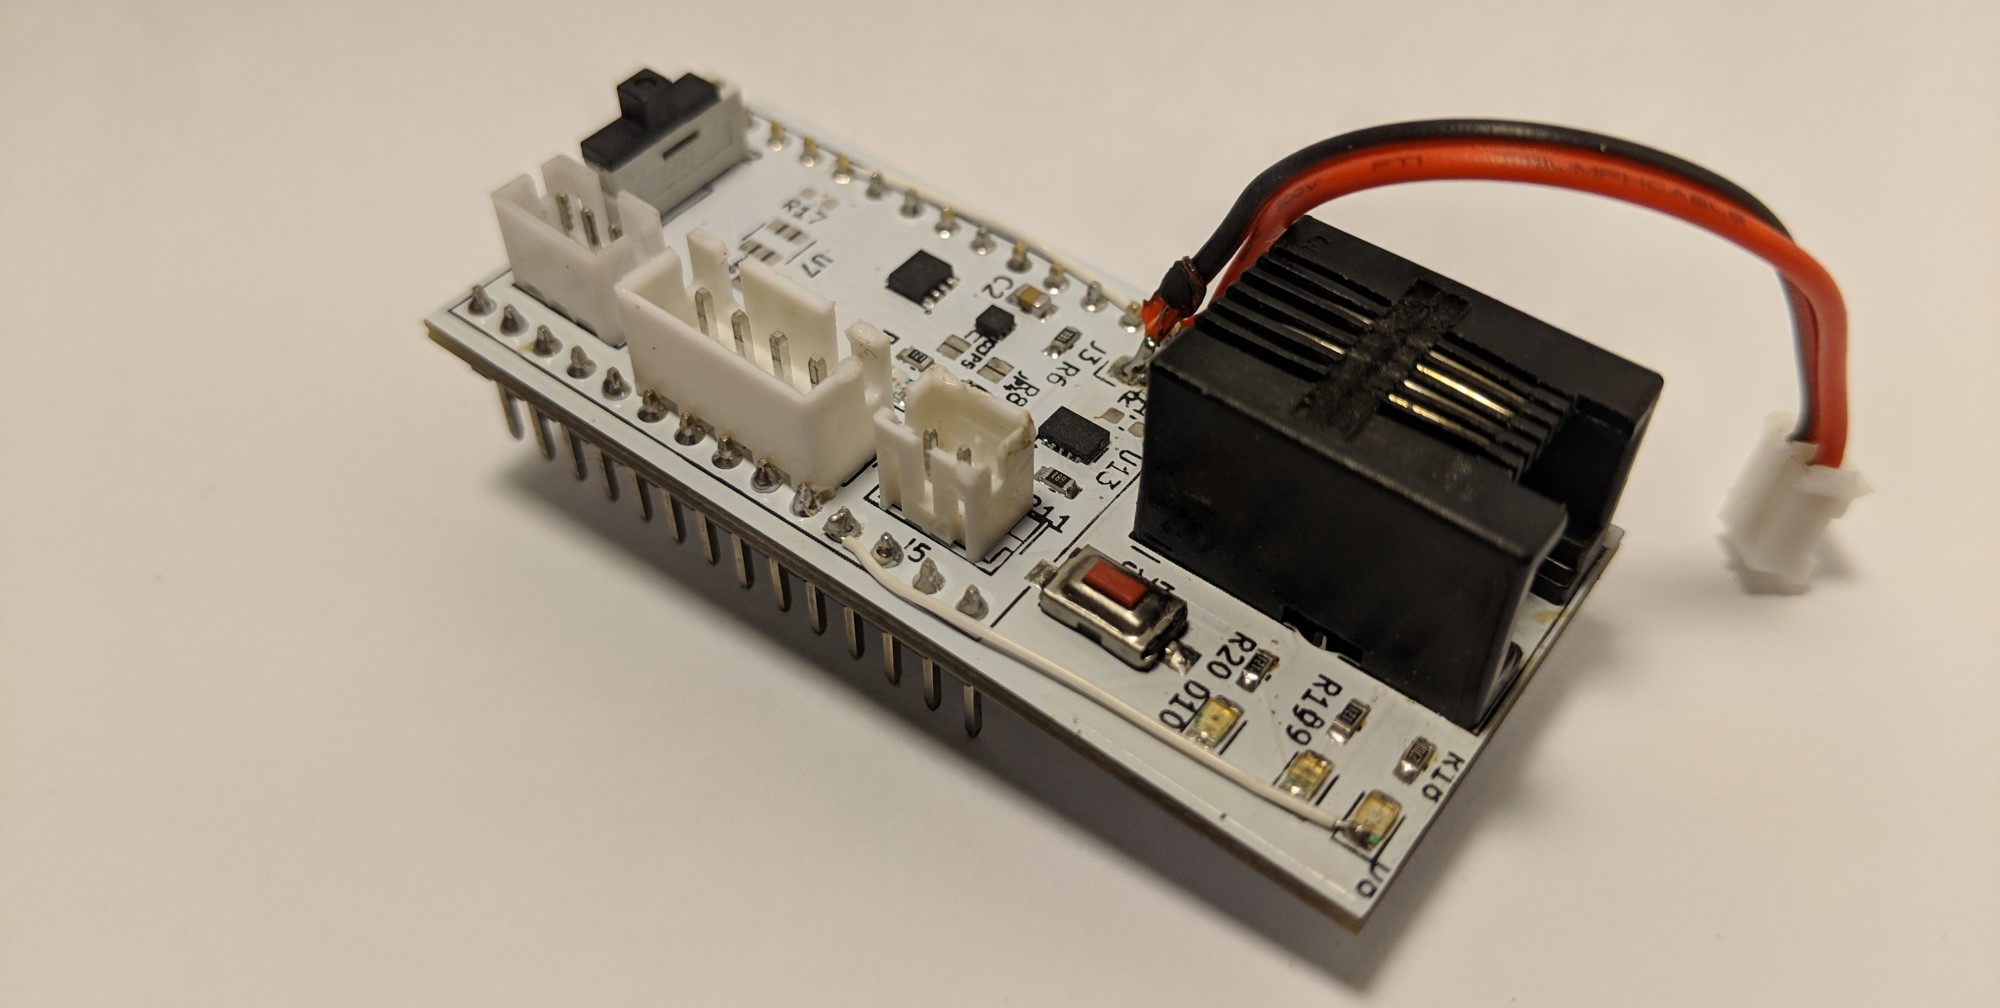
However, after searching for a bit, I found out about the Arduino MKR 1400. A Ublox Sara-U201 3G modem with a SAMD21 microcontroller on board. After finding this, I decided to do a respin and change the design completely. The new design would basically become a shield to the MKR 1400; a shield with less features and therefore, less components
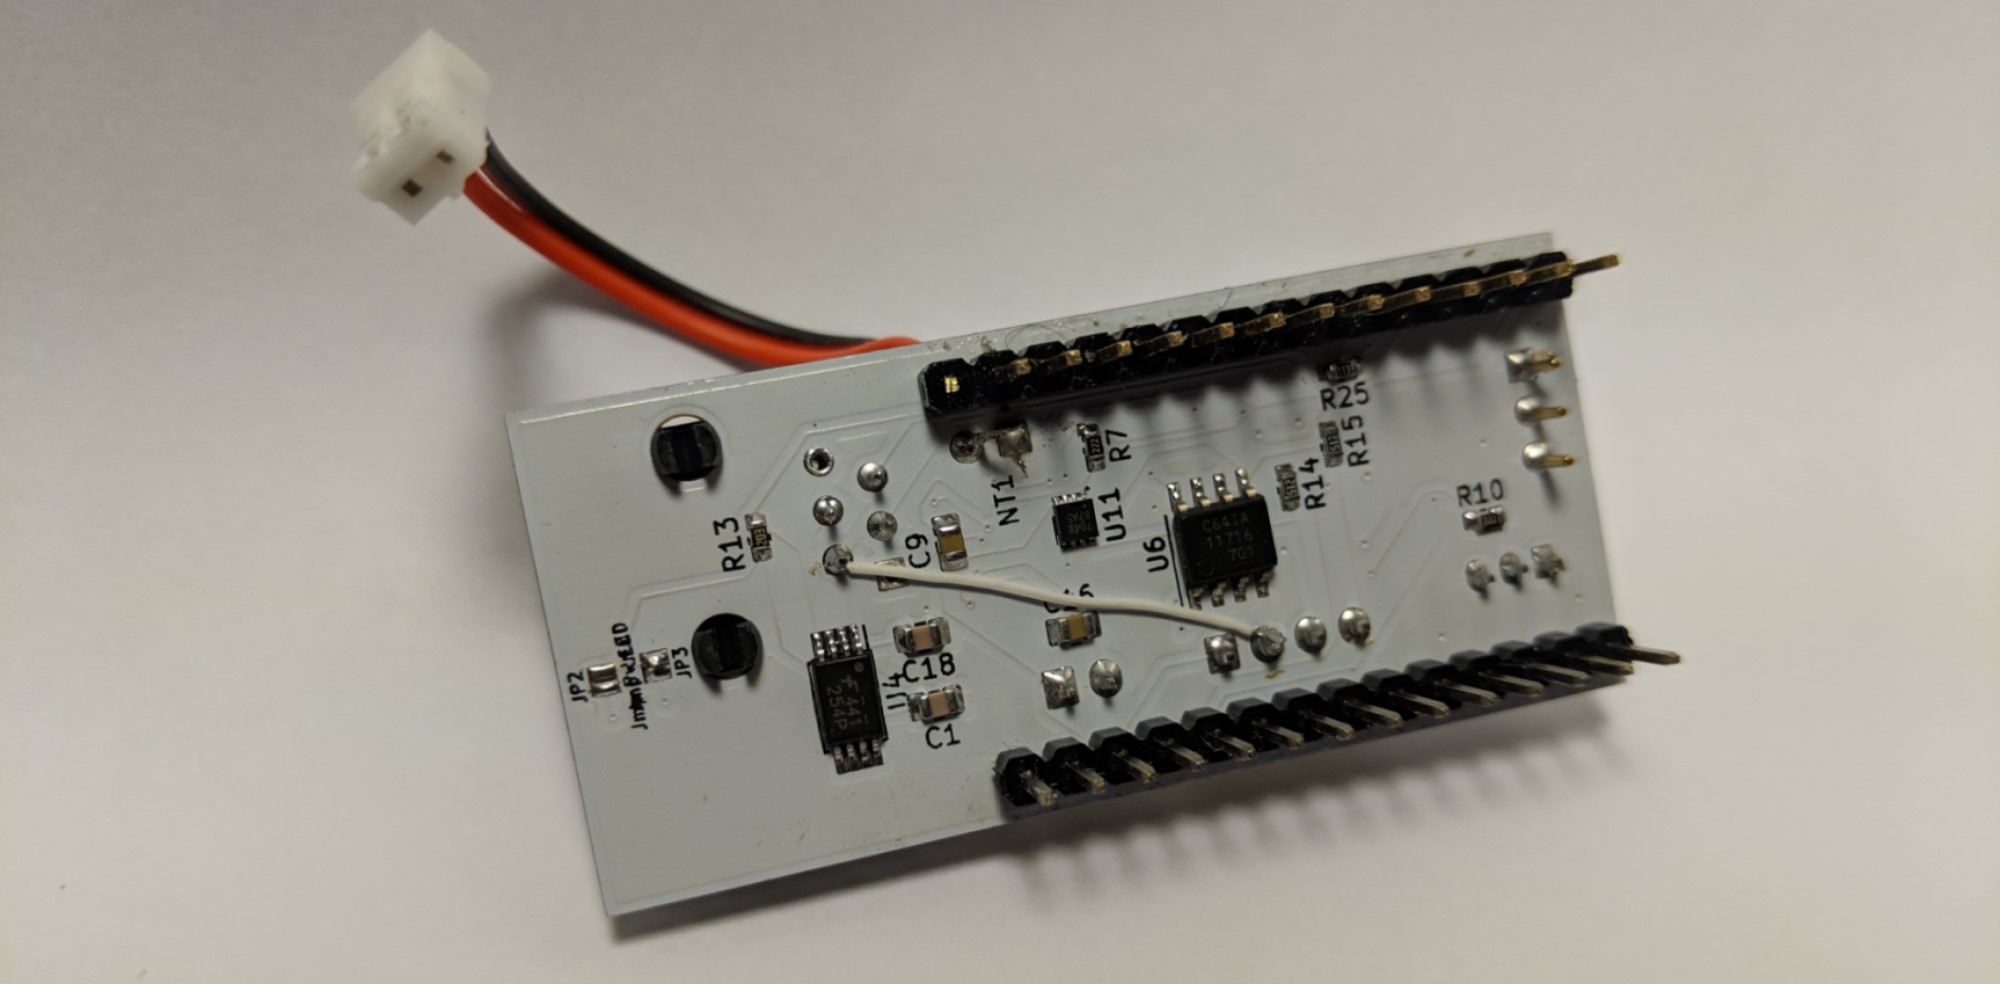
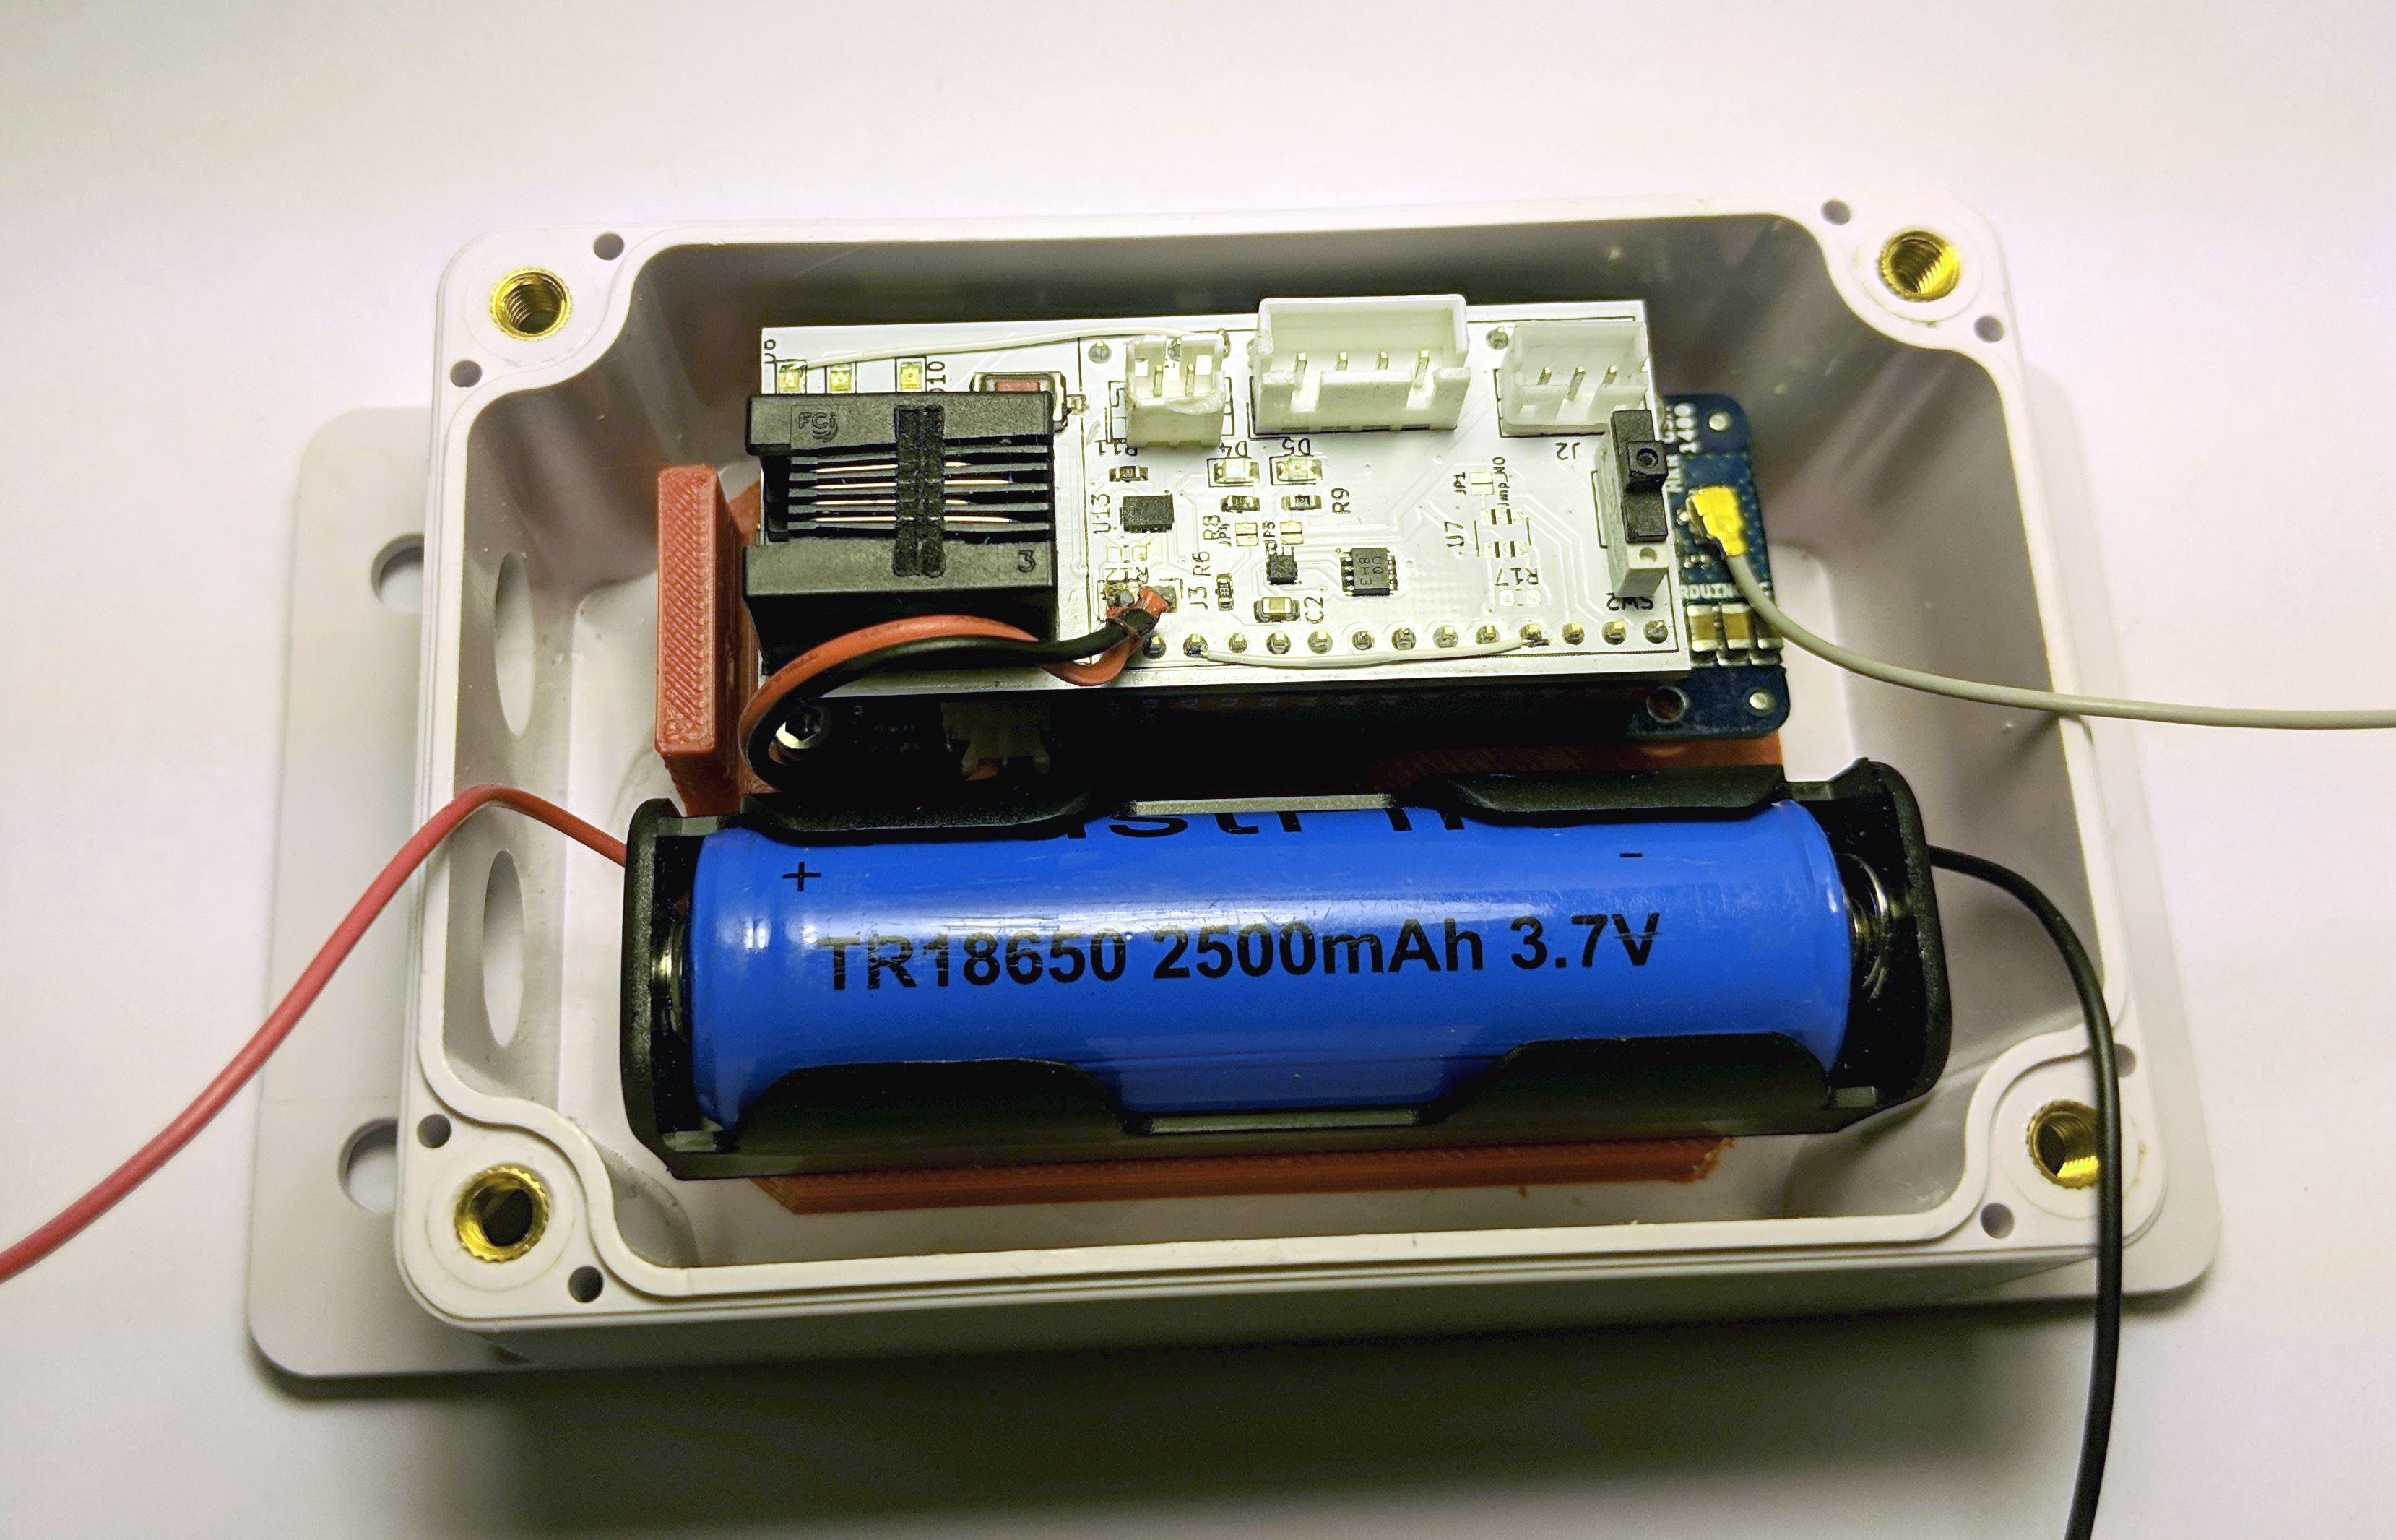
After testing with the board for a bit (and a few white wires), I found the lowest quiescent current the board will draw is ~3mA. This was after removing some unneccesary parts on the MKR1400. While SAMD21 only pulls about 600nA in sleep mode, something else on the MKR1400 is using a lot of power. While this is not ideal, I decided to move forward with this version. The li-ion battery is rated to 2500mAh and even after knocking that rating down by 20%, the standby time for this weather station would be over a year. And given that under full sun, the solar charger will charge at a peak rate of 60 mAh, the weather station should have no probably staying alive.
Software
The other challenge of this build was the software; one half was writing code of the weather station and the other half was setuping a NGINX server running on a Raspberry PI.
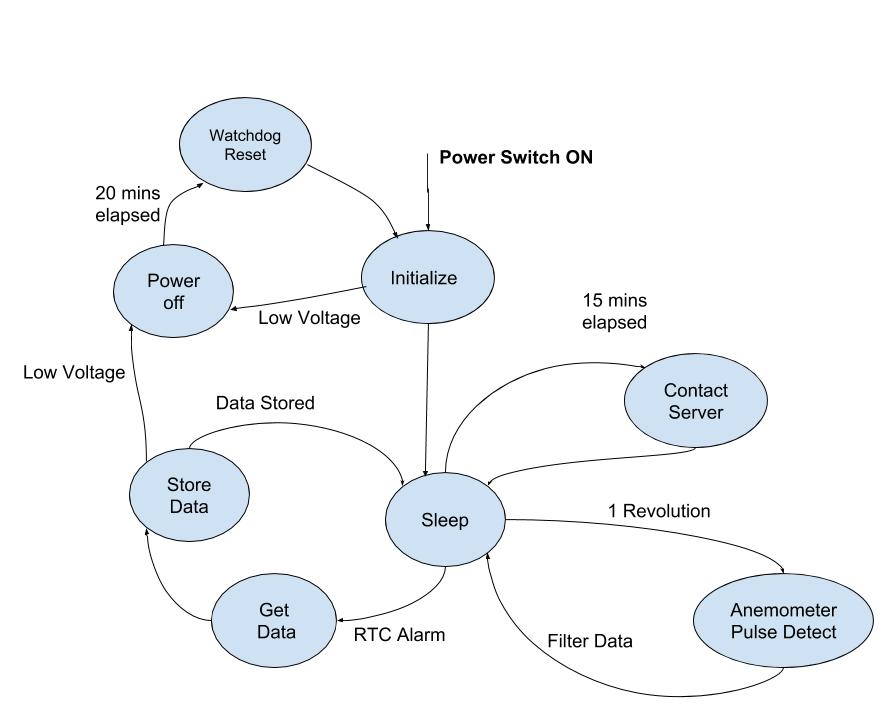
Since in the hardware design, I was constraining myself to running off of 1 li-ion battery, putting the microcontroller in sleep mode as often as I could was essential. This meant using the single RTC (only 1 wake up alarm) as often as I could to wake up microcontroller. The main state machine of the weather station isn’t too complicated, mainly just wake up, check weather conditions, save the data and go back to sleep. But if the battery was lower or the weather station was shut off due to low power, special conditions like those had to be handled as well. All the data measure is stored in FRAM and pointers in memory so avoid accidental overwriting of data in the event of a power outage or reset. Below shows the basic state flow of the code.
The next step is to transmit the data to the server. Given that 3G data isn’t free, transmitting the least amount of data possible is more desirable. This is where bit fields in C is really handy. The data can be scaled and then stored in a specific size to minimize data usage (and storage). The data is then sent to the server via a HTTP POST request with JSON. This allows for multiple packets of data to be sent in one request and then easily parsed. The library I am using for the GSM module includes a TCP/IP layer to help reduce the risk of corrupted data being received by the server.
Once the data is transmitted, it is then read in by a php file that unpacks the JSON data, unpacked (using bit fields again) and then stored in a SQL database. Both the raw and unpacked data are stored. The data can now be read in from the SQL database from a user accessible website and plotted out onto graphs for a visual. Sounds simple enough, but getting to this point was very much a challenge given that I had very little experience (if any) in HTTP (POST, GET requests, JSON), HTML, CSS, PHP, Javascript, and SQL. The next major step is to optimize the website for both desktop and mobile devices.
Latest update on this project as of 5/16/19:
A new PCB was ordered to remove a few white wires and change out the connector for the anemometer. The original RJ11 jack didn’t quite fit through the weatherproof wire connector hole. The weather station has been in my backyard for the past 2 weeks and seems to be working as expected. One on going issue I have been having with it is the solar charger will stop charging the battery after some time. I found a mis-sized resistor for the solar charger after reviewing the datasheet and that has helped. The new version of the weather station has a signal going from to the Enable input of the solar charger IC to the microcontroller to reset the charger if needed.
The link below can be used to view the data. The website is hosted on my Raspberry Pi 3 B+ and was created from scratch, as well as the SQL database to hold all the data from the weather station.
After working with the MKR1400, I had many issues using the open source library for the device, specifically the serial module. Random hangs when talking to the GSM module was a semi common occurance. Switching libraries to tiny-GSM solved most of the issues I had. If I had more time, I would have like to rewrite the libary myself. However, the orignal intent on this respin was to get the project created and out in the field for use quickly. Therefore, the decision to buy an already developed board was made. It was very dissapointing to find such instabilties in what should have been a ready to go device. The GitHub for the device also showed other people with very similar issues with limited support for fixing the issues. Next respin of this device will be using NB-IoT instead of 3G. And I am planning on using the nRF91 for this. I hope to finish up a few of my other projects soon so I can get experience with Nordic’s new IoT platform and start using the that micro for many of my other projects.
Link to Weather Station Website